I love music, so its important to have a car audio system for my Autobianchi Giardiniera, Dante. The audio system will also be an integral part of my infotainment system, which I’m currently figuring out. My priorities for my car audio system were good sound quality and minimal impact to the interior of my classic car. I set out to see what I could do.
Good sounding car audio system
I’m not an audiophile per se, but I do appreciate good sounding music. Some argue that a classic car, especially a noisy one like a Giardiniera, doesn’t need a good car audio system. But music adds to my driving enjoyment, and after all, I will be converting my car to a quieter EV. The car audio system will also allow me to play audio from my phone via CarPlay.
A Giardiniera is a very, very small car, so I knew I had to put in a small car audio system. I didn’t need or want a banger of a system anyway – I didn’t need my license plate rattling as I drove through the streets of Vancouver (Dante is eye-catching enough! 😉) I choose to go with small speakers and an under seat subwoofer. I hunted around and researched, and settled on an Alpine based system that met my needs. For the speakers, I selected the S-S40 speakers as they were well rated, and most importantly, small! I tested them out, and they sounded nice in the car, so I set about properly mounting them.
Speaker placement

Many people simply cut holes in door panels and mount speakers there. That may have been the smarter and easier path, but I didn’t want anything modern too pronounced in my car’s interior. To say that a Giardiniera’s interior is austere, would be an under statement. I wanted more subdued speaker locations, so I went about creating custom mounting enclosures.
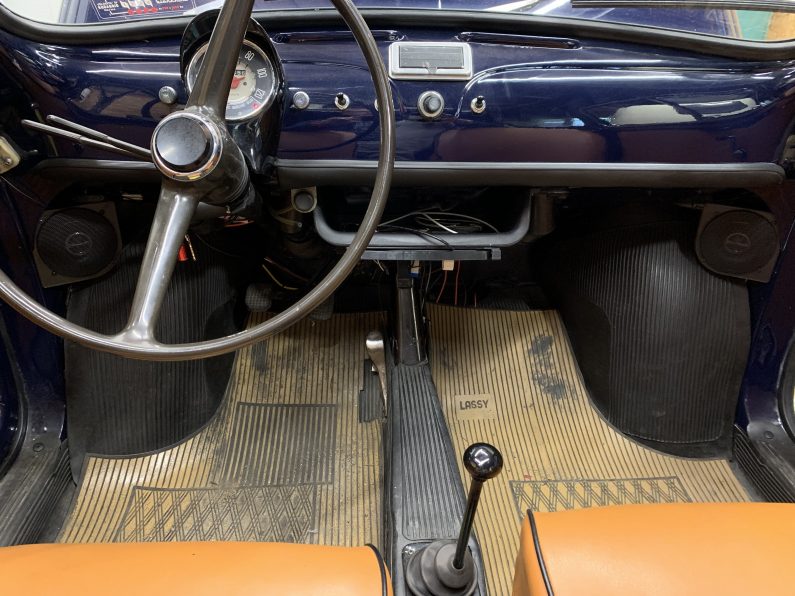
I decided that I could minimize the speakers’ presence if I placed them under the dash in the ‘corners’ above the wheel wells. Its a good placement for sound quality, a surprisingly unused space in the small car, and is a fairly unnoticeable area.
Designing speaker enclosures
I’ve been using FreeCAD for 3D print designs on various Dante related projects (eg license plate holder), so I’m getting handier with it. The enclosure naturally split into two pieces: the front and the back. For both, I started with capturing the S-S40 mounting points and clearances from the supplied mechanical drawing. The S-S40s are intended to be factory speaker replacements, so they don’t come with grills. I found some metal speaker grills online that matched my needs, so when they arrived, I measured the grill’s mounting points and incorporated them into my speaker enclosure’s front.
My plan was to use photogrammetry to capture the under the dash shape to make an exact fit, but I couldn’t get a clean model. After many, many attempts, I threw in the towel on that effort. (I’ll have to re-visit photogrammetry at some point though – I was so close and its so cool!) I re-vectored and started with the passenger side to design the enclosure back from scratch. From my test prints, it turned out that the speaker enclosure didn’t need to be a super exact fit. As long as I got the front surface right, the speaker magnet naturally wanted to fit into a convenient indent near the door. Lucky break! I then created a partial cone-like back to almost a point. This point nestled into the ‘corner’ above the wheel well.
Mounting the speakers
The last hurdle was to figure out how to get the speaker enclosures solidly attached to the car. I spent some time figuring this out, as I really wanted to avoid drilling new screw holes into the car. When I took a close look, I noticed that the sheet metal was folded over inward on the curved supports on the sides of the dash. This fold would allow for piece of plastic to be hooked in. I printed a test piece, and a 2mm thick triangle slotted in perfectly. I then figured out the angle of this holder triangle relative to the speaker front and made sure it was connected well enough to not easily break. The photos below show the design in detail.

Note little triangles that slot into metal dash supports

I used the passenger side to figure out the basic speaker enclosure design. Once I had something workable, I had to modify it for driver side. The two major obstacles on the driver side were the hood release and a wiring harness running from the front of the car. Since the hood release handle needed clearance, I kept that in mind while making the passenger side enclosure. When I mirror imaged the 3D print, it worked straight away for the drivers side. Avoiding the wiring harness was also fairly easy by just reducing the cone shape’s length. Both turned out easier to mitigate than anticipated – another lucky break I appreciated after struggling so much with photogrammetry! Once the final pieces were printed, I simply had to screw them together with the S-S40 supplied screws and slot in the grills on the front.
Finishing installation
Both speaker enclosure backs friction fit quite well in to the top of the wheel well and feel very solid to help stabilize the holder triangle. I’ll try these for a while to see how robust the fit is, but I’ll likely just dab in something like caulk on the speaker magnet to help secure it without making it too hard to pull out if I want to change or update something.
I’ve paired the S-S40s with Alpine’s PWD-X5 Powered Subwoofer with a DSP Amplifier. Its very solidly installed under the seat and produces nice bass. I still have to tweak the DSP settings, and admittedly its a bit weak in the lower midrange, but I think its sounds pretty good all considered. It won’t win any car audio competitions, but it definitely punches above its weight!
I’m quite happy with the finished product and sound quality. I thought I’d go back to update the enclosures with a top curved surface (to minimize the gap above), but the look is growing on me. It was worth the effort in the end: I got a good sounding car audio system without a glaring different look to the car’s interior. I may also look at reprinting them using ABS filament if something stronger is required. I’d like to avoid that though since ABS is less environmentally friendly and more difficult to 3D print with. Since Giardinieras are variants of the classic Fiat 500, this type of design should work for those cars as well. So far I’ve received good feedback from my friends and family, but I’d love to hear what you think.